How to Transform Plain Vinyl Roller Shades into Works of Art?
Recently, I was reading a magazine in my living room when I looked long and hard at the white vinyl roller shades. I must say that they do serve an extremely important role. They keep the blazing sun at bay and reduce the heat in the summer as well. Although these roller shades aren’t pretty, they are effective.
Nevertheless, the longer I looked, the more I became conscious that these roller shades were merely retractable blank canvases.
I puzzled how I went this long without realizing the creative possibilities lying in wait in literally every window in my home. I’d require some spray paint, masking tape, and an obsession with works of art or chevrons or any designs.
For this project, regular latex wall paint would be useless. I went looking for spray paint specifically for fabric and vinyl. I found it easily enough. I bought my favorite decorating color—blue. I bought some masking tape too. Now, I was ready to start.
The first step is preparation. I took the roller shade out of its bracket gingerly. I’d advise you to be fully clothed because I’ve seen scantily clad individuals cleaning their windows several times. It isn’t a pleasant sight.
As with most painting projects, you need to create a welcoming surface for the paint. Exercise patience. Clean, dry, and ensure the surface is free of any dust or grease. The safest method of cleaning vinyl shades would be by using a sponge with plain water. If your shades are dirty, use mild dish soap.
Measuring accurately is the second step. Measure the width of the roller shades. Determine the exact length as well. For instance, if your shade is 62” tall and 34” wide, you’ll need a work table that’s bigger than this. Of course, you can work on the floor too. Just place some old newspaper under the vinyl shade to prevent paint marks on your floor.
Pick a design. You can opt for polka dots or chevrons. If you’re a good artist, choose your favorite design. Anyone can create chevrons or polka dots. Divide the width of your shade by the number of divisions you desire for the chevrons. For instance, if the width of your shade is 42”, divide that in half (21”) and then subdivide each division again in half (10.5”). Mark four points on the bottom of your shade using a pencil. These points should be 10.5” apart. Ensure that you stay straight by marking a point up the shade from the already marked four points on the bottom.
You can have 10 or 12 inches of white space between the chevrons. If you are creating polka dots, just ensure that you remain straight and consistent.
Cutting the masking tape precisely is the third step. You can cut off many strips or circles at once and keep them handy for quick use. Don’t tear off the tape savagely. Cut with a scissors neatly. Cutting freehand will do if you concentrate a bit.
Stick the masking tape on the shade after lining up the bottom of the tape such that one end coincides with the bottom corner of your shade. The other end should meet the apex of your first chevron. Smooth out the tape. Use a fresh strip for making the “down angle” of your chevron. The bottom middle point of your shade would be the 21 inch point.
You can have the number of strips you desire to attain the chevron thickness you want. Two strips of tape would be ideal, though. Measure 10.5” from the top point of the first row of chevrons for creating your next line of chevrons. You can tape all the way to the top of your shade if you like.
Painting is the fourth step. If you have a large worktable, you can use it. Otherwise, lay the shade down in a well-ventilated area. Your garage with the door open would be ideal. Check whether the tape is stuck well to the shade.
Since inhaling spray paint aerosols can cause numerous health complications, you must strap on a face mask and safety goggles before using spray paint. Just shake the can well and begin spraying. Spray with a consistent, uniform application. Give the whole shade a light misting. Then repeat the process. If you aren’t satisfied, give the shade another misting.
If you’re painting your own design, use paints that can be applied on vinyl surfaces.
Useful spray painting tips: Keep your hand moving. Never linger over any specific spot for over a second. If you linger longer than necessary, a crusty little blob will show up.
Since there isn’t much quantity of paint in one can, you’ll need several cans. Just coat the places along the borders of the masking tape thoroughly.
Spray paint dries instantaneously, especially when applied in thin, uniform coats.
Final Step: Pull up the tape gingerly and clean the back surface of the shade. Erase all the pencil markings you made. Your beautiful artwork is ready! Hang it, preferably when you’re fully clothed.
Powered by Mirasvit Magento 2 Extensions
-
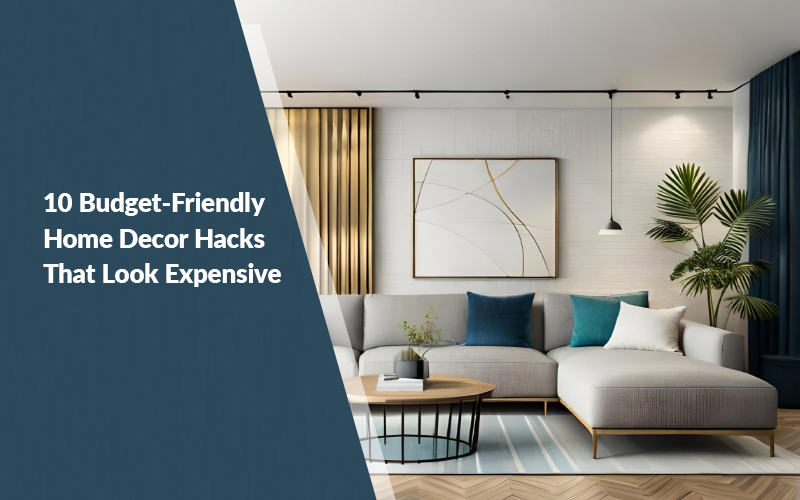 10 Budget-Friendly Home Decor Hacks That Look Expensive
-
 Crafting Unique Spaces: The Power of Custom Furniture in Interior Design
-
 Transforming Your Outdoor Oasis: Exploring Zozulu's Outdoor Furniture Collection
-
 Small Space Solutions: Finding the Perfect Furniture Online with Zozulu
-
 Transform Your Space: Trendsetting Room Makeover Ideas for 2024
